Dahlias Arrived? What To Do First
Dahlias arrived? What to do first
When a box of dahlias arrives, it’s very tempting to lose all common sense. You’ve waited ages, you’re excited, and now you’re standing there with a box of tubers that range from “promising” to “slightly alarming”. I get it.
Before you start potting anything up, there are a few things worth doing first and they’ll make the whole process much easier later.
This is exactly what I do when my dahlia tubers arrive.
1. Get everything out of the box and laid out properly
First things first: unpack the lot and spread them out so you can actually see what you’re dealing with. This is not the moment for chaos. I like to keep each variety together, lay the tubers out on a table, and have a proper look before I start doing anything else. It’s much easier to spot damage, rot, or clumps that need tidying when everything is in front of you.
2. Check for rot straight away
If anything feels soft, squishy, or clearly looks like it’s already had a bad time, deal with that first.
A rotten section doesn’t always mean the whole clump is a write-off. Quite often you can cut away the bad bit and save the rest. However ,if the whole thing feels like mush, it’s not coming to the party. Harsh, but necessary. This is one of the easiest ways to avoid problems later when you pot them up.
Quick check:
Firm = keep
Soft or mushy = remove
Completely rotten = bin
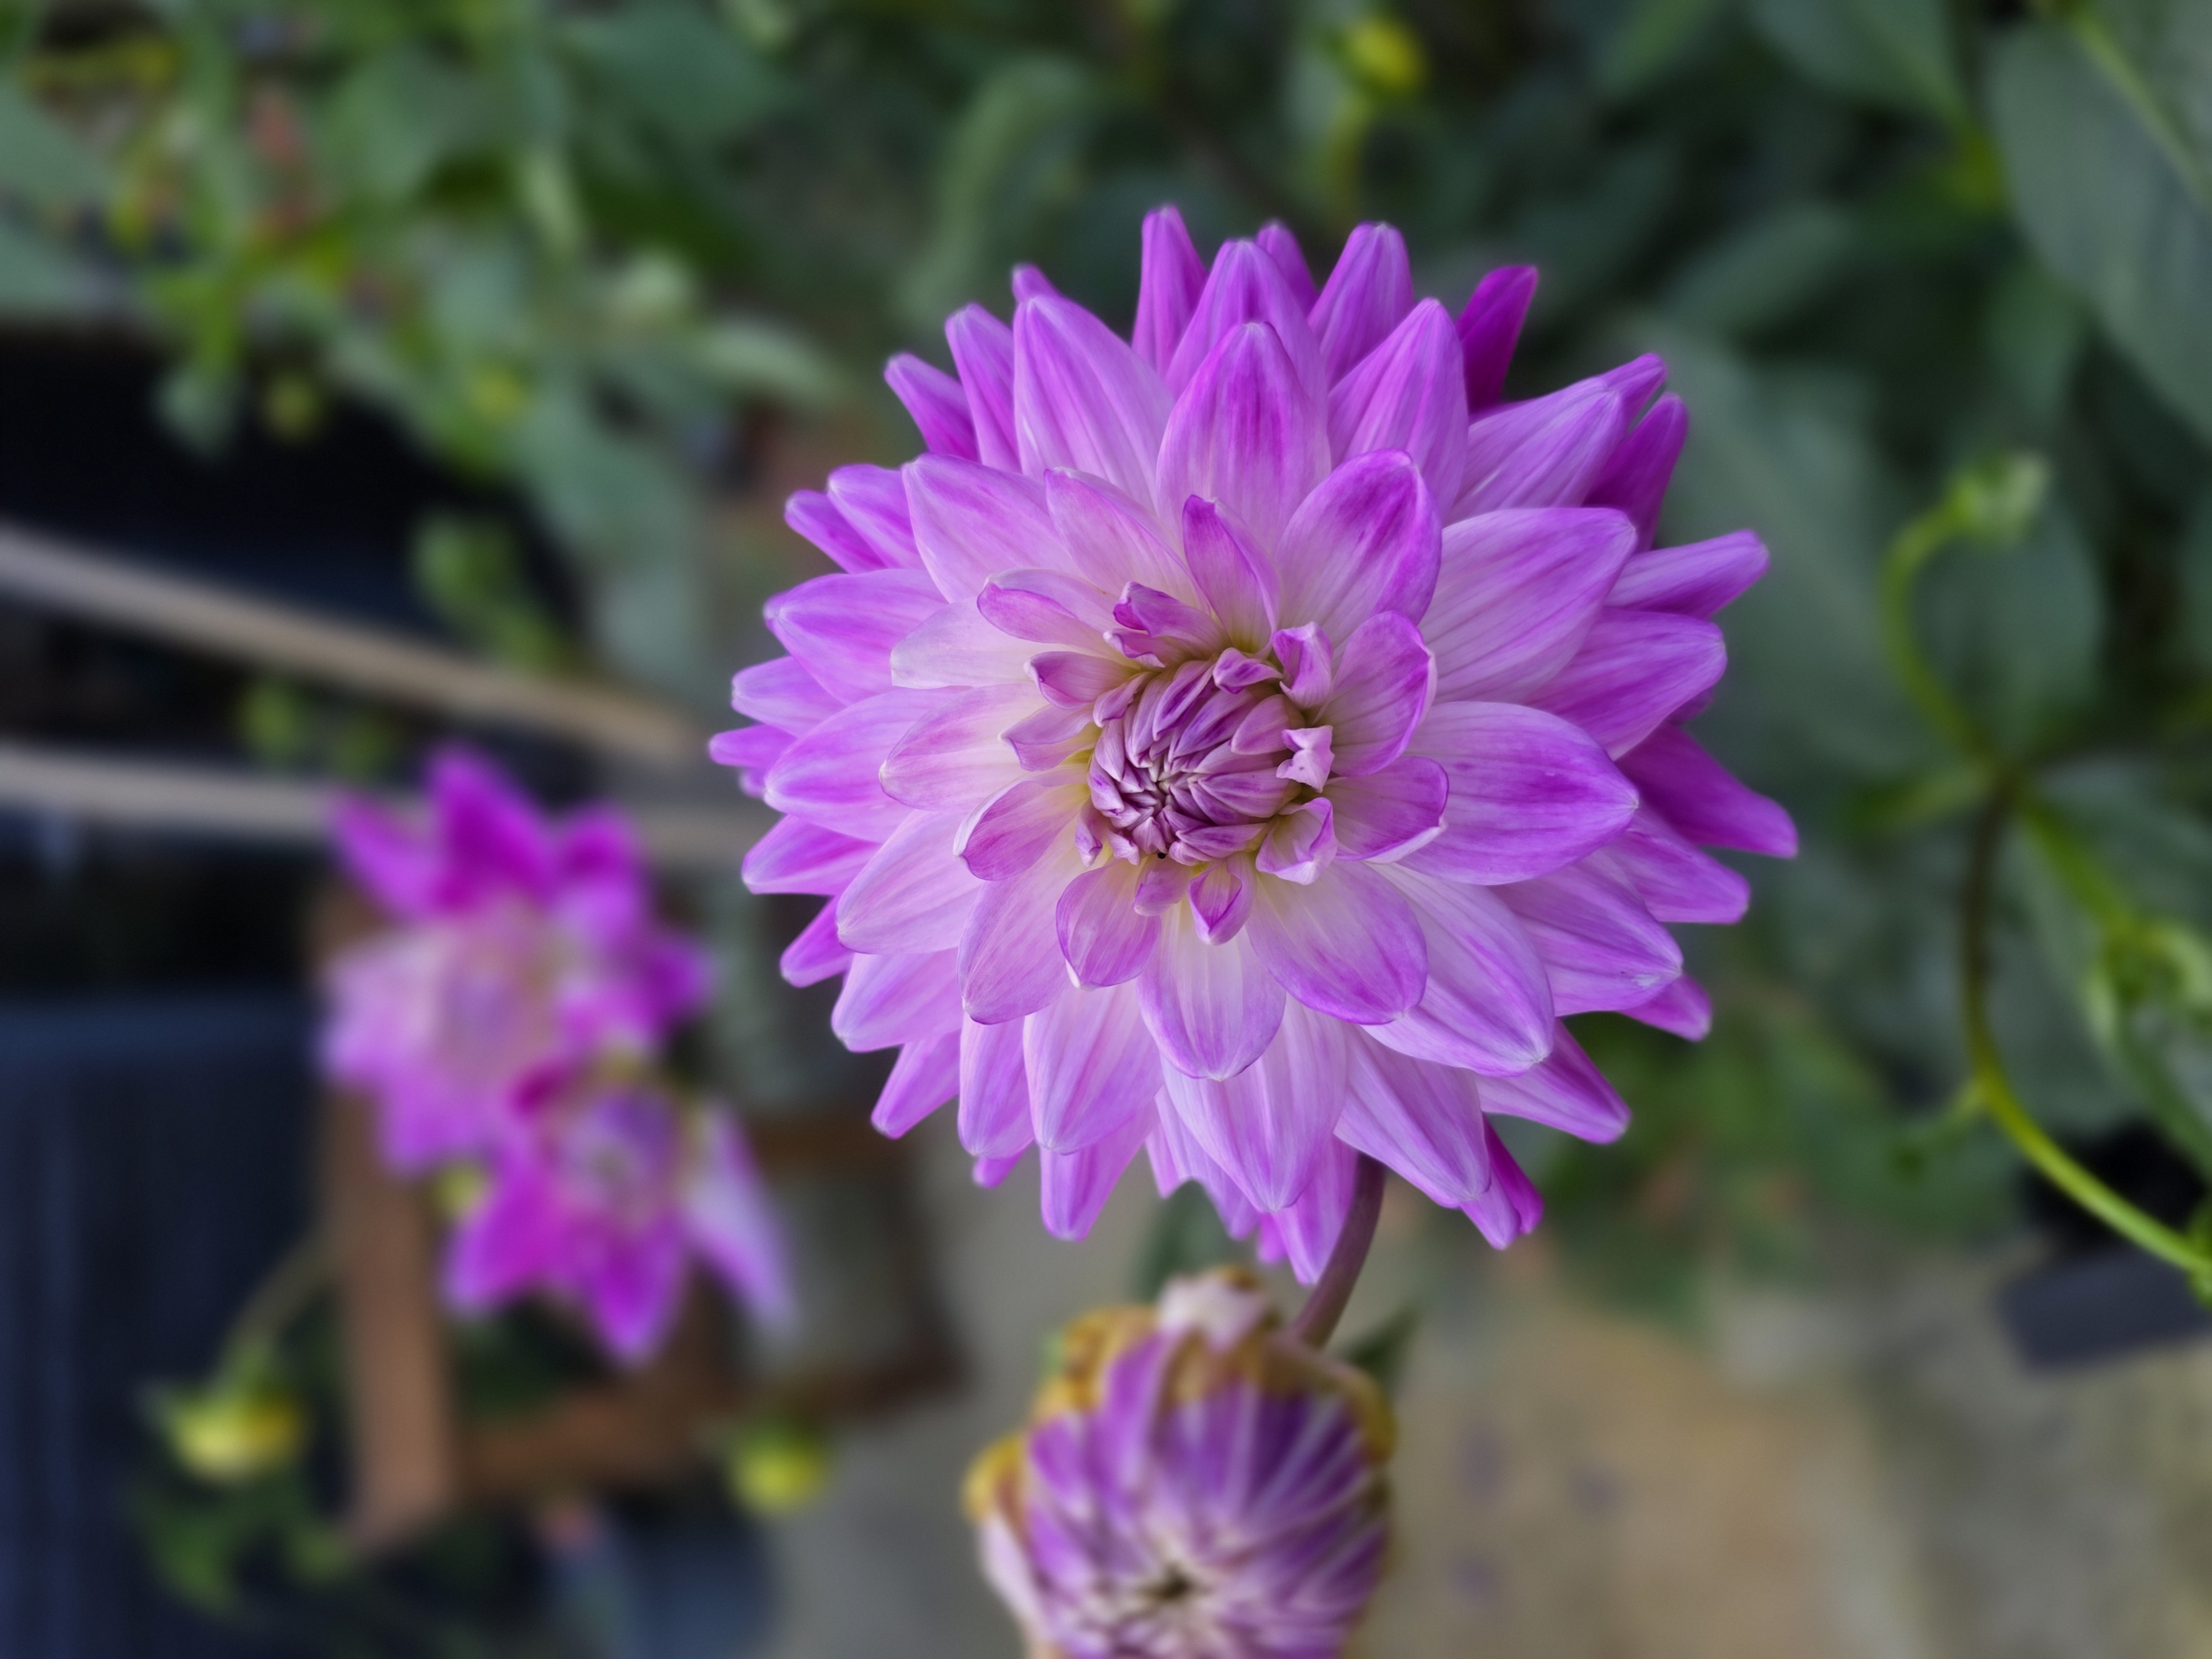
3. Look for the crown and the eyes
This is the part that confuses most beginners, but it’s also the bit that matters most. A huge dahlia clump is not automatically better than a smaller tuber. What matters is whether you’ve got a viable crown and visible eyes. That’s what actually gives you a plant. So if you’ve got a smaller tuber that looks underwhelming but has a proper eye, don’t write it off. It can still grow beautifully. This is especially worth remembering if you’ve ordered different varieties or from different suppliers and the tuber sizes vary wildly. Bigger is not always better. Viable is better.
Image suggestion: close-up showing the crown/eye area with an arrow or label
If you want to know how to spot eyes on your watch this:
4. Tidy the clump so you can actually see what’s going on
Once I’ve checked for rot, I tidy the clumps up a bit. That usually means removing broken, dead, or clearly useless bits so I’m left with something I can properly inspect, divide later, or pot up without playing a guessing game. This isn’t the glamorous part of growing dahlias, but it makes the next stage much easier. And if you’re anything like me, having them look a bit less chaotic is also good for your mental health.
Image suggestion: before-and-after image of a messy clump vs a tidied clump
5. Don’t rush them outside
If it’s still cold and wet, this is not the moment to shove them straight into the garden and hope for the best. Dahlias hate a cold, soggy start. I’d much rather inspect them properly, tidy them up, divide them if needed, then pot them up and keep them somewhere warm and frost-free while they wake up. It’s slower, yes. Nevertheless, it’s also a lot less annoying than losing them to rot because you got impatient.
My rule:
If it’s cold, wet, and miserable outside, the dahlias stay in.
6. What comes next?
Once they’re checked and tidied up, the next step is either dividing the clumps, if they need it or potting them up, if they’re ready to get going. That’s where the real dahlia season starts. If dividing makes you nervous, don’t panic! It sounds scarier than it is. And if you’re not sure whether to pot them up yet, just remember: warm, frost-free, and labelled properly is the goal.
How to divide dahlias
How to pot up dahlia tubers
How to keep dahlias warm and frost-free
When to take dahlia cuttings
Dahlias can look confusing when they first arrive, especially if you’re new to them.
Some look perfect. Some look weird. Some look like they’ve been through something.
But you don’t need perfection here. You just need to know what’s viable, what needs tidying up, and what comes next. A little bit of prep now makes the whole season easier.And honestly, that’s the kind of gardening I like best; less panic, more plan.
